Example of orientation detection using a display setup
LMK Reflection: Imaging, Angle-Resolved Display Reflectance
High-resolution reflectance measurement with luminance camera
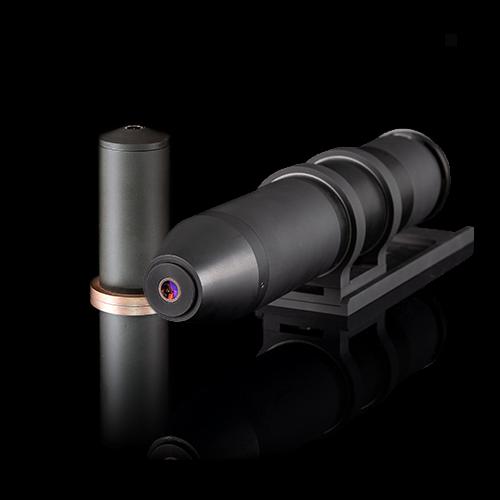
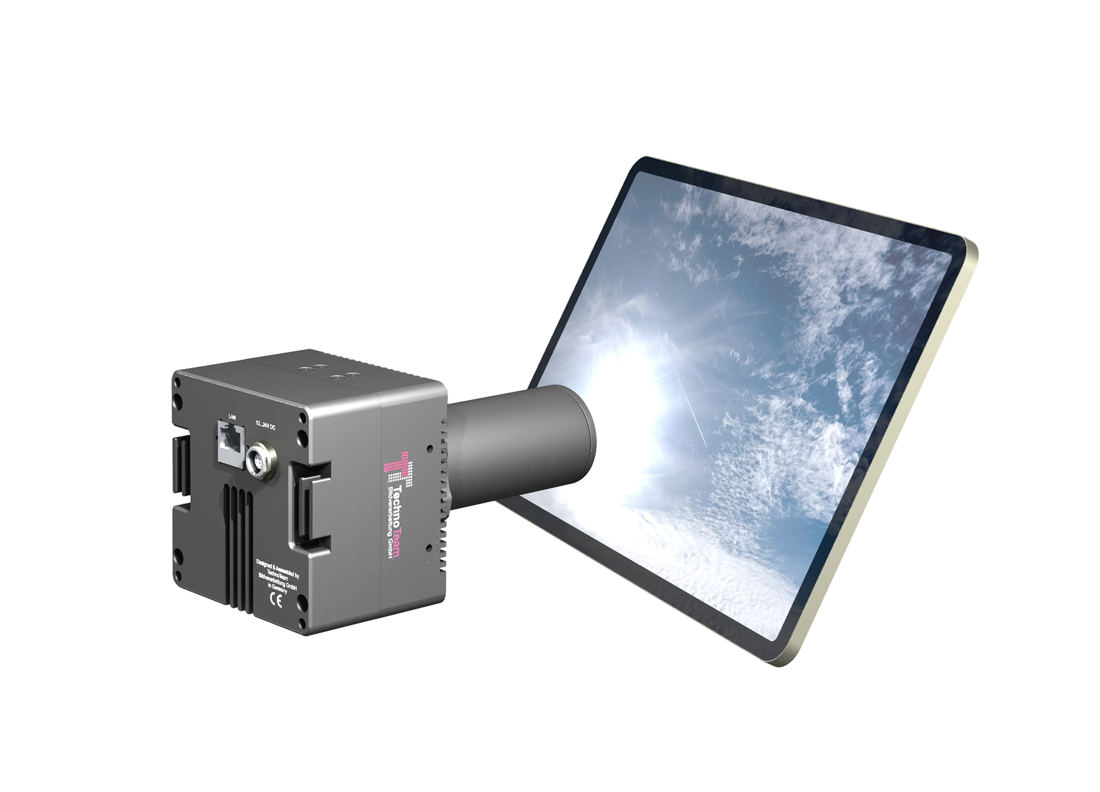
Our luminance measurement camera (LMK)-based reflectance measurement enables fast and high-resolution evaluation of reflectance properties and is part of the Display Package. In contrast to conventional, goniometer-based methods, the system captures detailed luminance and color information in a single measurement setup - with minimal effort. LMK Reflection thus replaces conventional spot meter methods with a high-resolution imaging solution that efficiently captures reflection properties with angular resolution.
The use of a type II calibrated LMK with a conoscopic lens ensures that both the measurement sample and the light source are in focus. Automatic orientation detection minimizes positioning effort and enables a fast, robust setup. Measurement results are automatically transformed into the coordinate system of the measurement sample - for intuitive and standard-compliant evaluation.
Key Benefits at a Glance
- Maximum Flexibility and Ease of Use
- No goniometer, no motorized axes: Fast and simple setup
- Quick alignment via orientation detection
- Versatile use and evaluation: Ideal for R&D, compliance testing, and comparative measurements
- Comprehensive Measurement in a Single Setup
- Wide angular range: Capture multiple viewing directions in a single image
- Live transformation into the DUT's spherical coordinate system
- Simultaneous sharp focus on both DUT and light source
- Accurate and Robust Results
- High measurement stability through type II calibration and orientation detection
- Indirect illuminance measurement
- Optimized for complex reflection distributions and diffractive effects

Upgrade Your Reflection Measurements
LMK Reflection offers a powerful, flexible, and high-resolution solution for modern reflection analysis.
Contact our experts today to discuss your application or request a demo!
Case Study: ISO 15008-Compliant Reflection Measurement
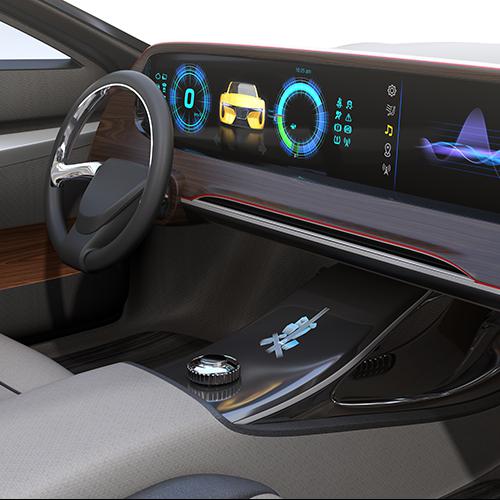
Our solution enables reliable compliance testing according to ISO 15008 (external link). The standardized measurement geometries (e.g. CID 45°/20° or IC 25°/0°) can be set up quickly and without mechanical complexity.
The high-resolution capture of reflections across multiple viewing directions allows for precise evaluation within the driver’s field of view in a single setup. Thanks to flexible region-of-interest (ROI) definition, local effects such as diffraction patterns can also be analyzed in detail.
Measurement data is automatically scaled to a target illuminance of 45 klx and transformed into the spherical coordinate system of the DUT, ensuring straightforward and standard-compliant evaluation.
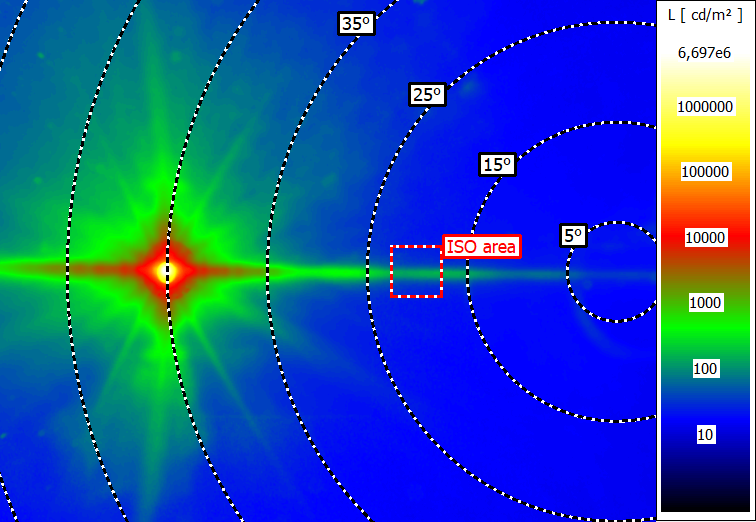
Measurement image for an in-plane CID evaluation (45°/20°)
Case Study: Separation of Reflectance Components
When combined with a variable-aperture annulus light source, our imaging-based system enables precise separation of Lambertian and specular reflectance—all in a single setup.
This approach allows for detailed evaluation of haze and diffractive structures, which are increasingly relevant for modern display surfaces. By capturing many viewing directions simultaneously, even subtle reflection characteristics become visible and quantifiable.
The measurement process supports evaluations according to key international standards such as ISO 9241-307, IEC 62977-2-2, and IDMS (external links) 1.3 chapter 11.7.3
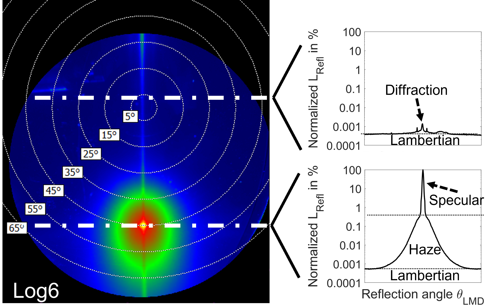
Visualization of display reflection components in a single image
Case Study: Glare Evaluation for Photovoltaic Panels
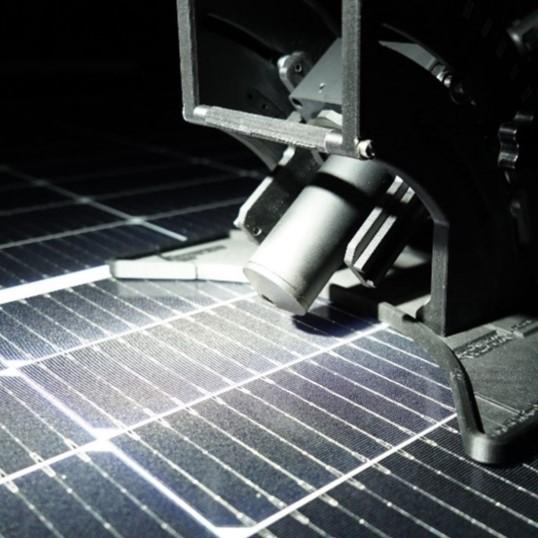
Our LMK Type II-based system has also been successfully applied in glare assessments for photovoltaic installations, such as those required by urban guidelines in Vienna (e.g., MA 37 – 476239-2022).
Compared to complex goniometric measurements, our solution offers a faster and more flexible workflow. The automatic geometric alignment via printed test patterns ensures a reproducible setup, even when switching between panel types or incidence angles.
The high-resolution measurement images allow for detailed reflection analysis under standardized conditions. Results can be used to verify compliance with glare limits (e.g. <30 hours/year at specific immission points), and to compare conventional vs. reflection-optimized solar panels.
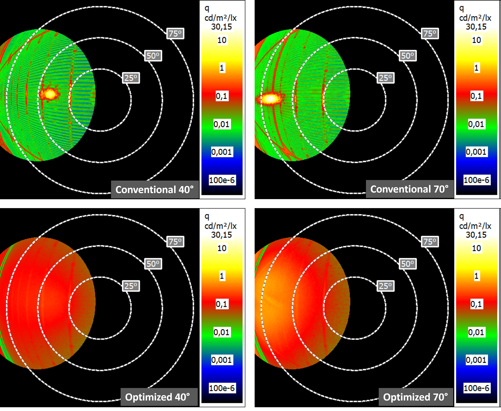
Example measurement images of the reflectance of two solar panels at angles to the sun of 40° and 70°
RELEVANT PRODUCTS AND APPLICATIONS
Publications
16. International Symposium on Automotive Lighting
SID 2025
Society for Information Display 2025
Information Display 2025
- Type:
- Add-On
- Applications:
- Architecture Automotive Aviation Display Infrastructure
- Measurands:
- Color measurement Light measurement
- Tasks:
- Development & Industry Science & Research
